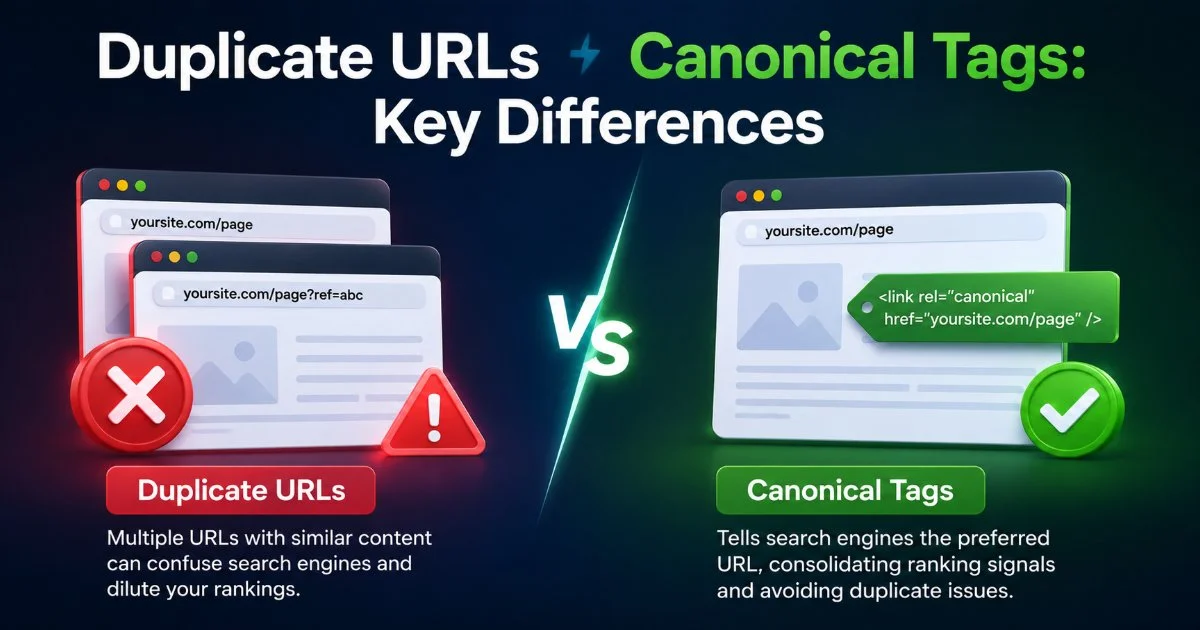
Canonical tag conflicts in WordPress are one of the most frustrating technical SEO issues you'll encounter. When multiple signals point search engines toward different URLs for the same content, you end up with duplicate URLs competing against each other in the index. The result? Diluted ranking power, wasted crawl budget, and pages that mysteriously disappear from search results.
For intermediate practitioners who already understand the basics of canonicalization, the real challenge isn't knowing what a canonical tag does. It's diagnosing why conflicting indexing signals exist and resolving them quickly without breaking anything else.
This guide walks you through a proven four-step process to identify, diagnose, and fix canonical tag conflicts in WordPress, so your preferred URLs get indexed correctly every time.
Key Takeaways
- Conflicting canonical tags cause Google to ignore your preferred URL and pick its own.
- WordPress plugins often inject competing canonical tags without any visible warning to you.
- Use Screaming Frog or Search Console to audit every canonical tag across your site.
- Always verify that HTTP headers and HTML tags point to the same canonical URL.
- After fixing conflicts, request reindexing and monitor coverage reports for two weeks minimum.
Step 1: Audit Your Site for Canonical Tag Conflicts
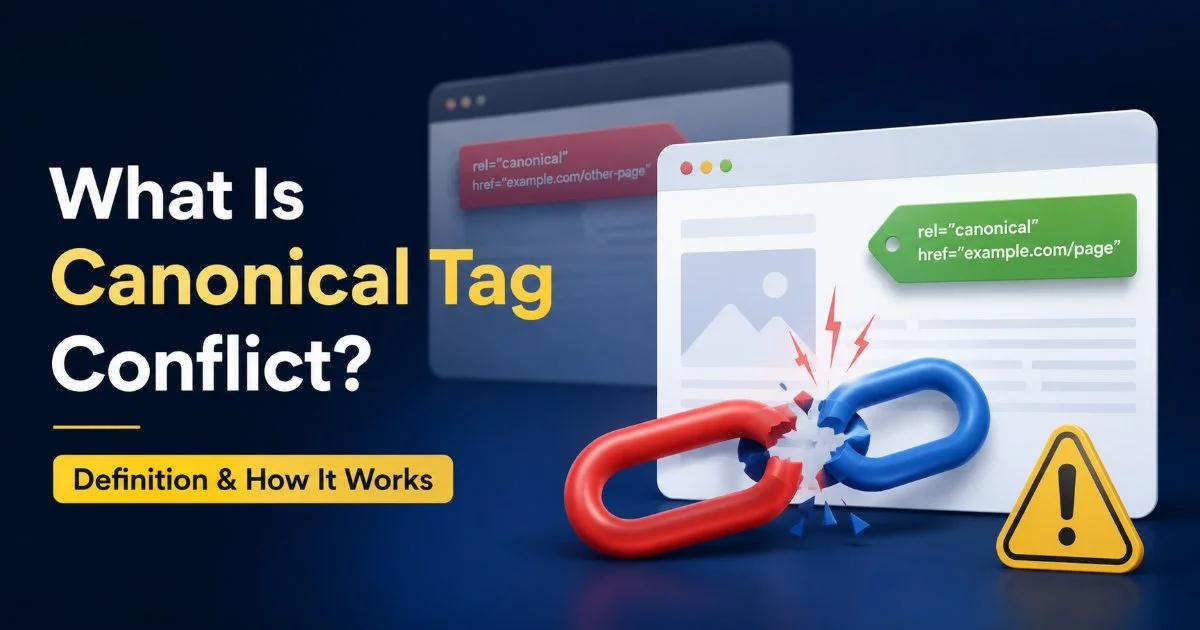
Before you fix anything, you need a clear picture of what's happening across your entire site. A thorough audit reveals not just where canonical tags exist, but where they contradict each other. Understanding what a canonical tag conflict is and how it works gives you the foundation to interpret what your audit uncovers. Start by crawling your site with a dedicated tool rather than spot-checking individual pages manually.
Check HTML and HTTP Headers
Run a full crawl using Screaming Frog, Sitebulb, or a similar crawler. Configure it to extract both the HTML canonical tag (the link rel="canonical" element in the page source) and any canonical directives sent via HTTP response headers. When these two signals point to different URLs, Google faces a contradiction and may choose neither. Export the results into a spreadsheet and filter for rows where the HTML canonical differs from the HTTP header canonical.
In Screaming Frog, go to Configuration > Custom > Search and add a regex to extract all link rel="canonical" tags from raw HTML.
Don't forget to check for trailing slash variations, HTTP vs. HTTPS mismatches, and www vs. non-www discrepancies. These seemingly minor differences count as entirely separate URLs to search engines. A page with a canonical pointing to https://example.com/page while the HTTP header declares https://example.com/page/ creates a genuine conflict that search engines must arbitrate on their own.
Use Search Console Coverage Reports
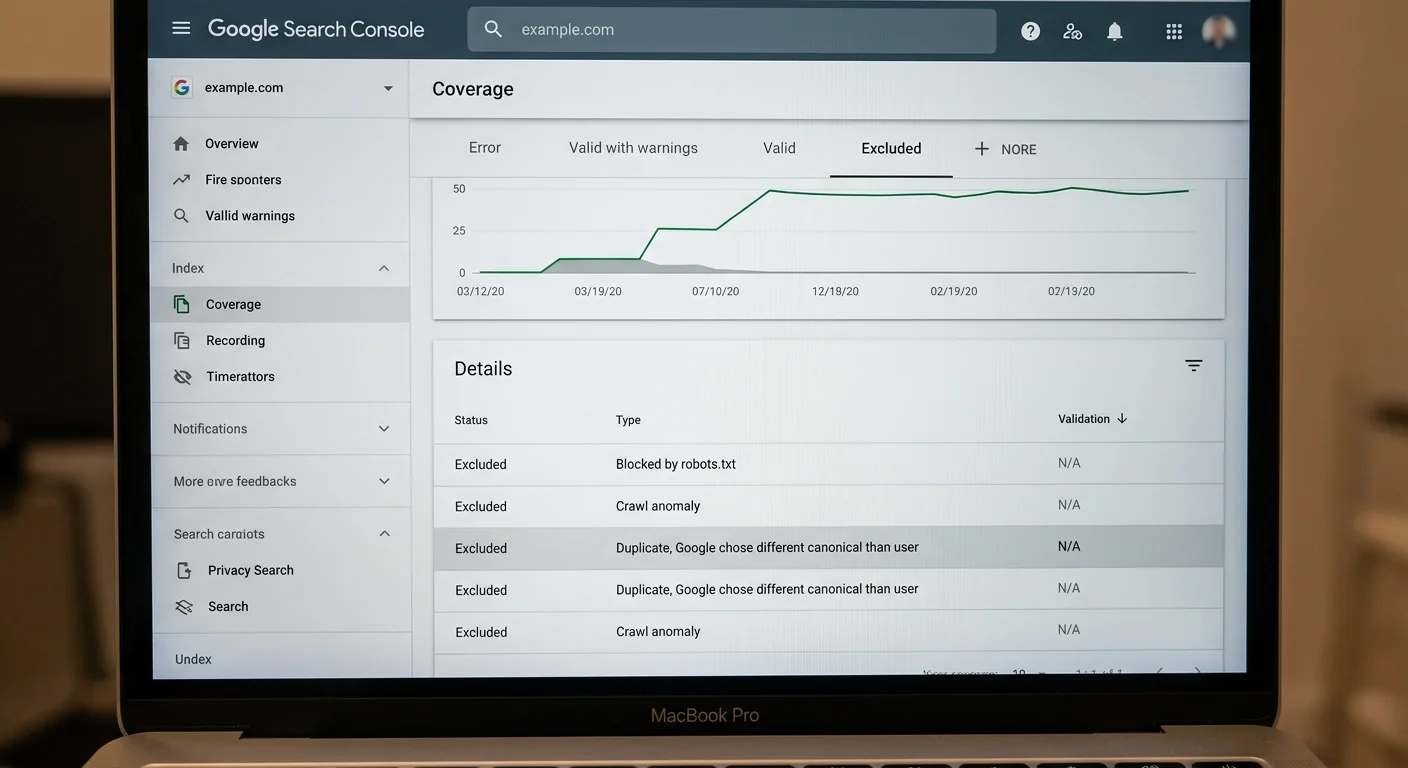
Google Search Console's Index Coverage report is your second essential data source. Look specifically for pages labeled "Duplicate, Google chose different canonical than user" under the Excluded tab. This status explicitly tells you that Google detected your canonical tag but decided a different URL was more appropriate. These entries are your highest-priority fixes because Google is already overriding your instructions.
Cross-reference the Search Console data with your crawl data. Pages flagged in both sources are confirmed conflicts. Pages appearing only in one dataset might represent intermittent issues, recently created conflicts, or pages Google hasn't recrawled yet. Build a prioritized list sorted by traffic potential, starting with pages that historically received organic visits before the conflict emerged.
Step 2: Identify Common Conflict Sources in WordPress
WordPress's plugin ecosystem is both its strength and a frequent source of canonical tag conflicts. Multiple plugins can inject canonical tags independently, each unaware of the other's output. Understanding where these conflicts originate helps you fix the root cause instead of playing whack-a-mole with symptoms across individual pages.
Plugin Collisions
The most common scenario involves two SEO plugins running simultaneously. For example, having both Yoast SEO and Rank Math active will produce two separate canonical tags in your page source. This also happens when an SEO plugin conflicts with a caching plugin that injects its own canonical via HTTP headers. Review your active plugin list and check whether any non-SEO plugins (like AMP plugins, multilingual plugins, or page builders) add canonical tags to the output.
Never run two full-featured SEO plugins simultaneously. Deactivate one completely before activating another.
| Plugin Type | Example Plugins | How It Creates Conflicts |
|---|---|---|
| Dual SEO Plugins | Yoast + Rank Math | Both inject competing link rel="canonical" in HTML head |
| Caching Plugin | WP Super Cache, W3 Total Cache | May serve stale canonical from cached version |
| AMP Plugin | AMP for WP, AMP by Flavor | AMP version gets separate canonical pointing to itself |
| Multilingual Plugin | WPML, Polylang | Hreflang and canonical tags misconfigured for language variants |
| CDN / Security Plugin | Cloudflare, Sucuri | HTTP header canonical injected at server level |
Theme-Level Canonicals
Some WordPress themes, particularly premium themes with built-in SEO features, hardcode canonical tags directly into the header.php template. These persist even after you install a dedicated SEO plugin, creating a hidden conflict. Check your theme's source code by inspecting the wp_head action hooks. If you find a canonical tag being output by the theme, remove it there and let your SEO plugin handle canonicalization exclusively.
Custom functions added to functions.php by previous developers are another hidden culprit. Search for rel="canonical" across your entire theme directory. You can also use the best AI SEO tools available today to automate the detection of conflicting tags at scale, especially on larger WordPress installations where manual inspection becomes impractical.
"The worst canonical conflicts are the ones you can't see, hidden in HTTP headers, caching layers, or theme files you never edit."
Step 3: Resolve the Conflicts Systematically
With your audit complete and conflict sources identified, it's time to implement fixes. The goal is to establish one authoritative canonical signal per page, with no contradictions from any other source. Work methodically rather than rushing. Fixing one conflict while accidentally creating another is a common pitfall during remediation.
Establish a Single Source of Truth
Choose one plugin or method to manage all canonical tags across your site. For most WordPress installations, this means using your primary SEO plugin (Yoast, Rank Math, or SEOPress) and disabling canonical output from every other source. In Yoast, navigate to each page's Advanced SEO settings to set the canonical URL explicitly. In Rank Math, use the Advanced tab in the post editor. Document your choice so that future developers or site managers don't inadvertently add a competing solution.
If you use Yoast, verify that "Remove Yoast canonical" isn't enabled in any code snippets or child theme functions.
For pages with parameter-based duplicate URLs (like pagination, sorting, or filtering), set the canonical to the primary version without parameters. WordPress commonly generates duplicate URLs through category archives, tag archives, and author pages. Configure your SEO plugin to add self-referencing canonicals to these archive pages, or set them to noindex if they provide no unique value. This approach ensures your canonicalization strategy covers every URL type WordPress generates.
Fix HTTP Header Conflicts
If your server or CDN injects a Link HTTP header with a canonical directive, you need to address it separately from the HTML tag. In Apache, check your .htaccess file for Header set Link directives. In Nginx, review your server block for similar additions. Cloudflare users should check Page Rules and Transform Rules that might modify response headers. Remove any server-level canonical headers and let your WordPress SEO plugin handle everything from the HTML side.
For sites operating under strict regulatory frameworks, like those dealing with EU AI Act high-risk AI systems compliance pages, getting canonicalization right is especially important. Regulatory content that gets deindexed due to conflicting signals can create real compliance visibility problems. Test every change in a staging environment first, then deploy to production and verify with a fresh crawl.
Step 4: Verify and Monitor Your Fixes
Fixing canonical conflicts isn't a one-time task. WordPress updates, plugin updates, and content changes can reintroduce conflicts at any time. A solid verification and monitoring routine protects your work and catches regressions early. Plan to verify immediately after deployment, then establish ongoing checks as part of your regular technical SEO workflow.
Request Reindexing
After deploying your fixes, use Google Search Console's URL Inspection tool to request reindexing of your most important affected pages. Focus on the pages that were previously flagged as "Duplicate, Google chose different canonical than user." Google typically reprocesses requested URLs within a few days, though full resolution in the index can take one to two weeks. Don't expect instant results; search engines process canonicalization changes during their regular crawl and indexing cycles.
Verify each fixed page by viewing the live page source (not a cached version) and confirming exactly one canonical tag appears. Use the "View Parsed Source" option in Chrome DevTools to see the actual rendered HTML, which accounts for JavaScript-injected tags. Run a header check using curl -I on each URL to confirm no HTTP-level canonical directive persists. Document your verification with timestamps so you can compare against future audit results.
Ongoing Monitoring
Set up a recurring crawl schedule, weekly for large sites and biweekly for smaller ones, to catch new canonical conflicts before they affect your rankings. Configure alerts in your crawling tool for any page where the declared canonical doesn't match the page URL (unless intentionally different). Screaming Frog's scheduling feature and Sitebulb's change monitoring both support this workflow effectively.
Create a saved filter in Screaming Frog specifically for "Canonical Mismatch" and include it in every scheduled crawl report.
Monitor Search Console's coverage report weekly for at least a month after your fixes. Watch for the "Duplicate" exclusion categories to decrease over time. If new conflicts appear, trace them back to the source immediately. Common triggers include plugin auto-updates that re-enable disabled features, WordPress core updates that modify permalink structures, and content editors who accidentally change canonical settings while editing posts. Building a brief canonical tag review into your content publishing checklist prevents many of these issues from occurring in the first place.
Frequently Asked Questions
?How do I find which WordPress plugin is injecting a competing canonical tag?
?Is fixing the HTML canonical tag enough, or must I also fix the HTTP header?
?How long does it take Google to re-index pages after resolving canonical conflicts?
?Can a trailing slash difference really cause a canonical conflict in WordPress?
Final Thoughts
Canonical tag conflicts in WordPress are fixable, but they require a structured approach rather than ad hoc tweaks. By auditing thoroughly, identifying the exact source of each conflict, establishing a single canonical authority, and monitoring for regressions, you reclaim control over how search engines index your content.
The steps in this guide apply whether you manage a 50-page business site or a 50,000-page publishing operation. Make canonical auditing a recurring part of your technical SEO routine, and you'll catch conflicts before they erode your hard-earned rankings.
Disclaimer: Portions of this content may have been generated using AI tools to enhance clarity and brevity. While reviewed by a human, independent verification is encouraged.